Page 6 of 7
Re: 69 2000 Derustoration
Posted: Fri Dec 02, 2016 7:46 pm
by Kman
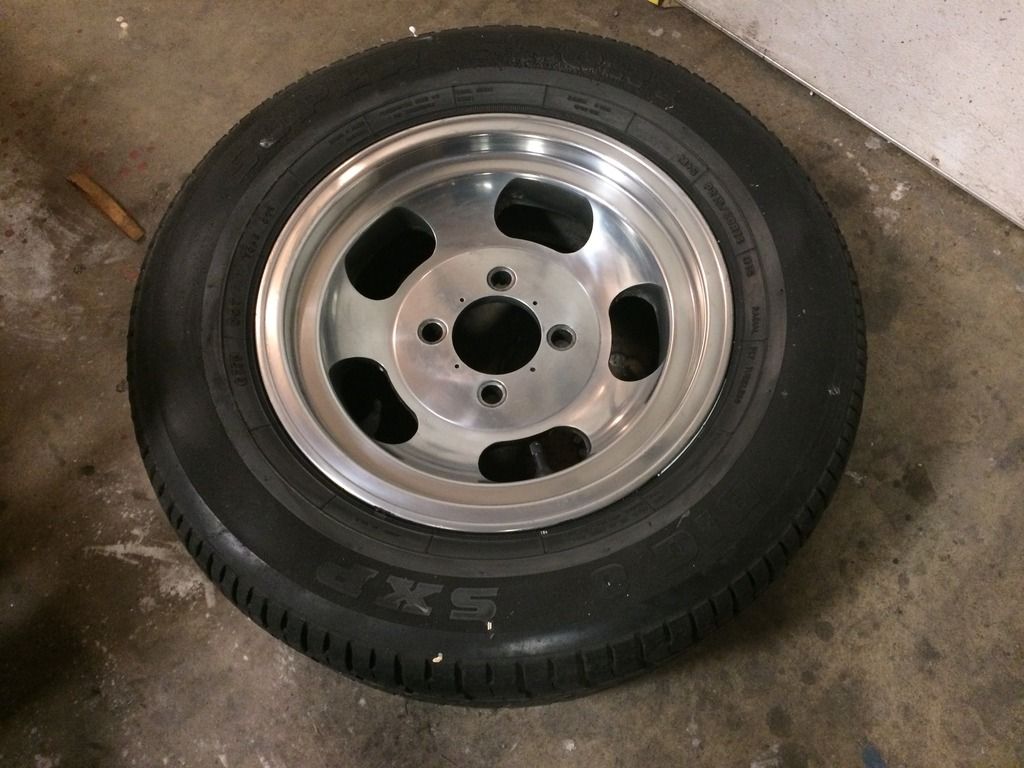
I picked up 4 of these for $100. I stripped and polished this one a little bit. Plus they need new tires. But nice huh?
Re: 69 2000 Derustoration
Posted: Fri Dec 02, 2016 11:48 pm
by notoptoy
Looks like a great score, congratulations!
Re: 69 2000 Derustoration
Posted: Sat Dec 03, 2016 5:35 pm
by C.Costine
I think I have a st of those, at least they could probably look like those with a lot of polishing.

Re: 69 2000 Derustoration
Posted: Tue Dec 06, 2016 7:21 am
by Kman
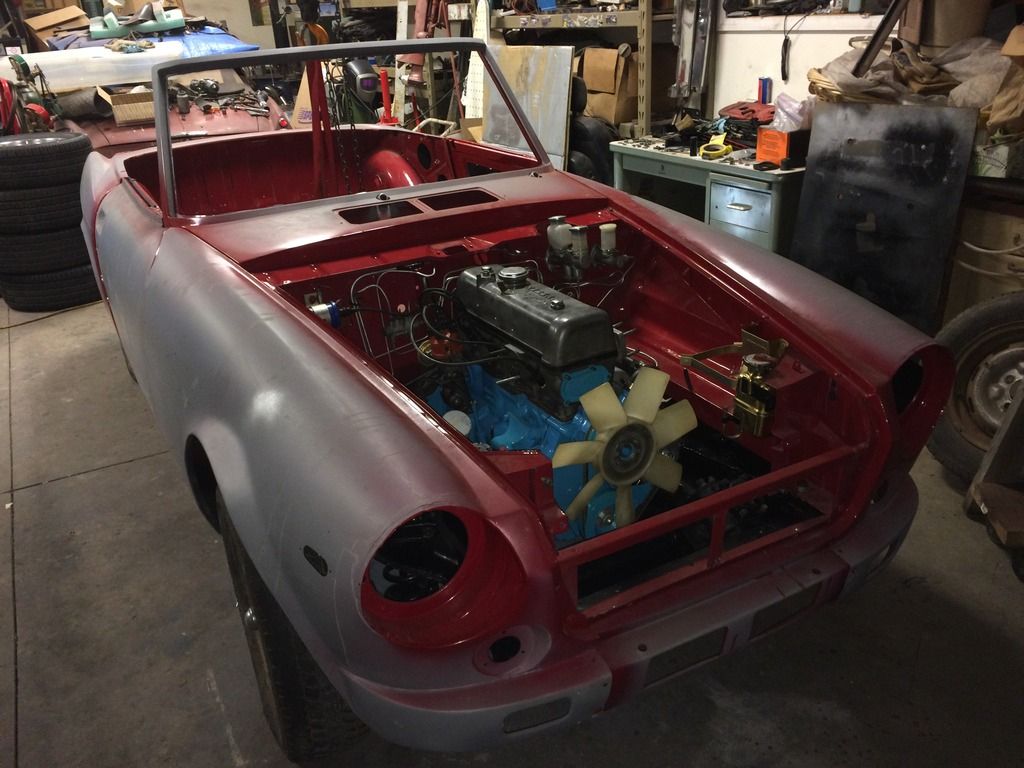
Together again.
Re: 69 2000 Derustoration
Posted: Thu Dec 15, 2016 9:57 am
by Kman
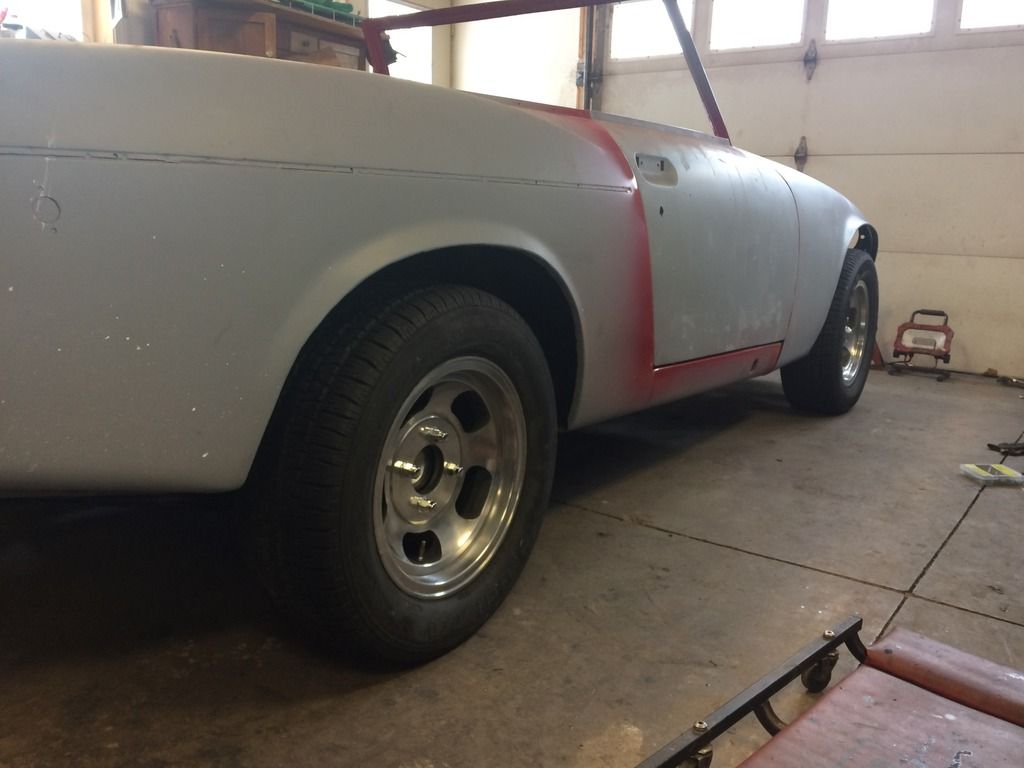
The tires that the rims came with are a bit big. 215/60/r14. I will probably switch to 185/65/r14 towards the end of the build. Plus I hope the new Gr-2 shocks settle down a little bit. they seem a bit tall.
I am considering either an Odyssey extreme battery or a Braille 11 pound battery at this point. I will likely keep it in the engine bay as it will be so small it can have it's own zip code away from the heat on the passenger side. I had the oil pressure hose made for only $22 at a hose shop even though they had to use a couple adapters to get the fittings to work. Added a new starter and a rebuilt GM 62 amp alternator. I am planning on heated seats and a decent stereo. I am waiting on a reground camshaft and rocker arms that I just ordered. I may be able to test fire it before the 1st of the year.
Re: 69 2000 Derustoration
Posted: Thu Dec 15, 2016 10:33 am
by S Allen
Looks great. Nice score on the rims.
S
Re: 69 2000 Derustoration
Posted: Thu Dec 15, 2016 7:23 pm
by Kman
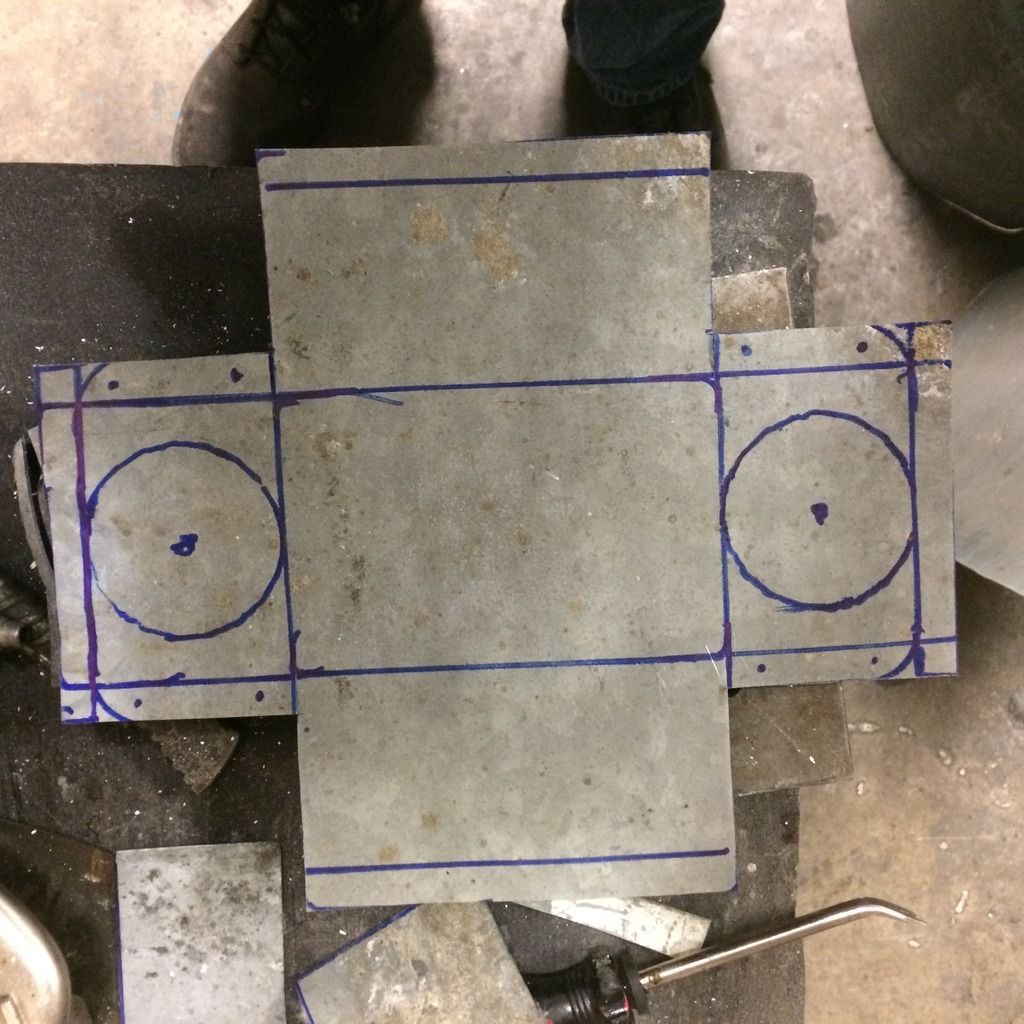
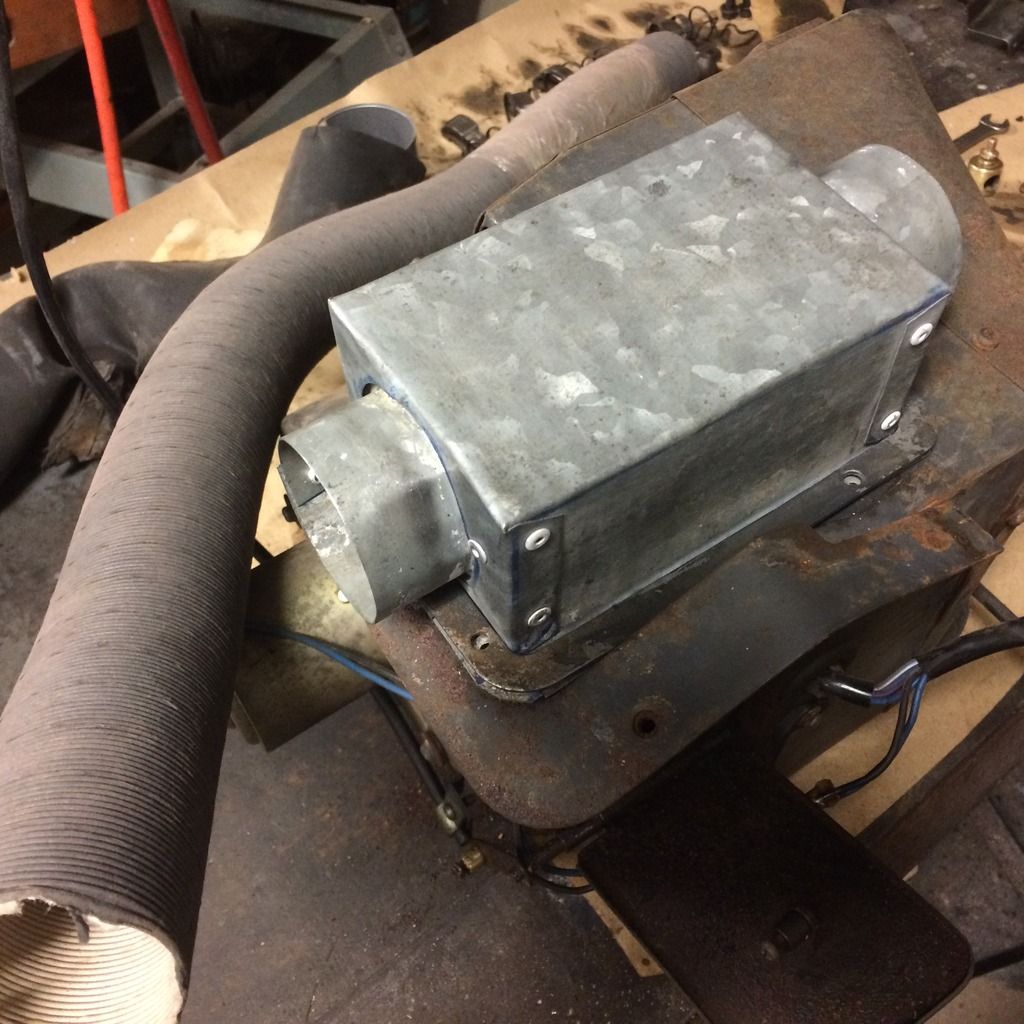
Made a transfer box for the defroster vents rather than source the rubber one.
Re: 69 2000 Derustoration
Posted: Sun Dec 18, 2016 12:11 am
by pebbles
That does sit pretty high for just being a shock. Make sure the body isnt hung up on something.
Nice work Kman!
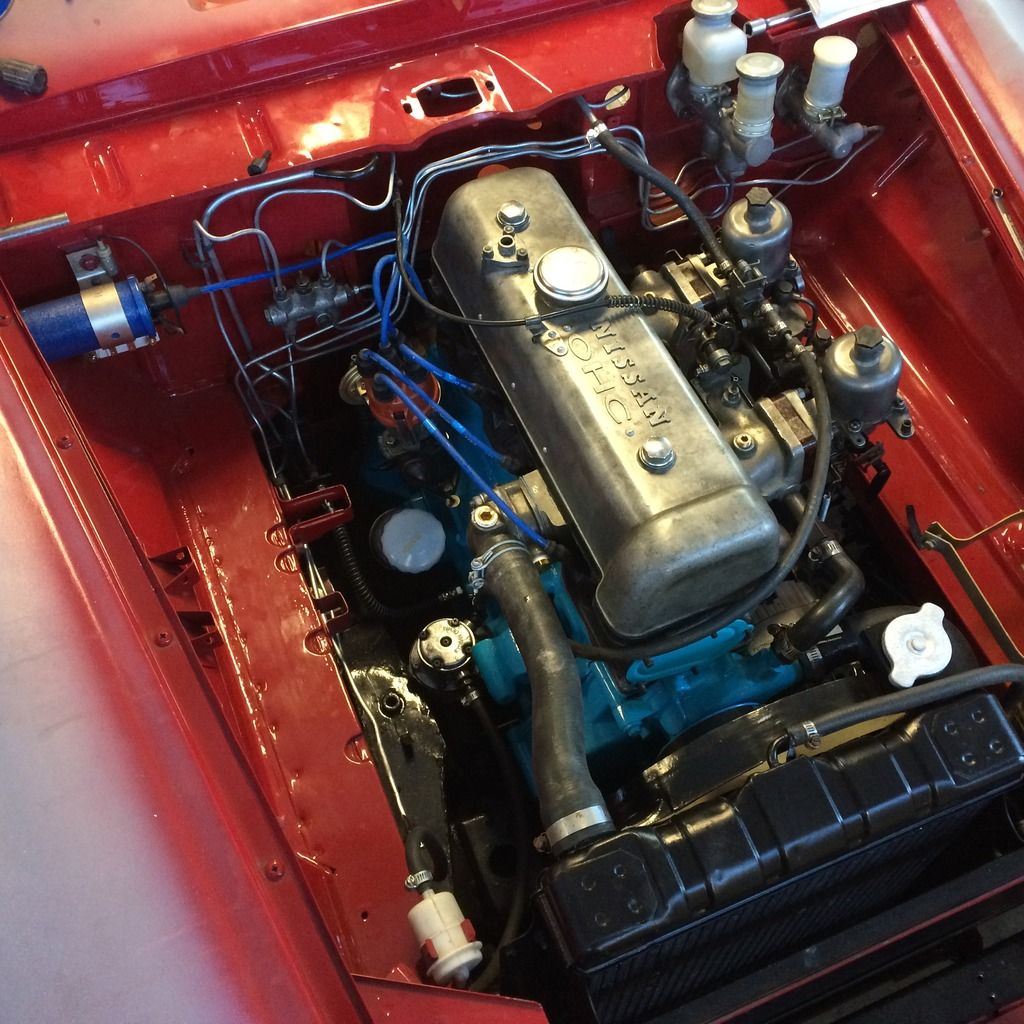
One more observation in the engine bay. Looks like the oil pressure gauge hard line is prerouted in through the choke cable hole.
Top hole (plugged) to the right in the pic is where the hard line routes into the interior.
Re: 69 2000 Derustoration
Posted: Sun Dec 18, 2016 2:39 pm
by Kman
pebbles wrote:
One more observation in the engine bay. Looks like the oil pressure gauge hard line is prerouted in through the choke cable hole.
Top hole (plugged) to the right in the pic is where the hard line routes into the interior.
Good spotting. Fixed.
Re: 69 2000 Derustoration
Posted: Sun Dec 18, 2016 4:46 pm
by zippy67roadster
Kman wrote:I picked up 4 of these for $100. I stripped and polished this one a little bit. Plus they need new tires. But nice huh?

I love the slotted mags! They are hard to find in the right offset for the Roadsters. Here are the last set I had, boy they polished up nicely!!
Re: 69 2000 Derustoration
Posted: Mon Dec 19, 2016 2:18 pm
by Gregs672000
Classic looking wheels those slots...
Re: 69 2000 Derustoration
Posted: Wed Dec 28, 2016 8:04 am
by Kman
Re: 69 2000 Derustoration
Posted: Wed Dec 28, 2016 8:38 am
by S Allen
Wow, steering wheel looks awesome. Mad wood working skills. Very nice indeed.
S
Re: 69 2000 Derustoration
Posted: Wed Dec 28, 2016 11:35 am
by notoptoy
^ +1!
Re: 69 2000 Derustoration
Posted: Tue Jan 17, 2017 1:10 pm
by Kman


